The hole spacing doesn't fit? Four ways to the matching handle

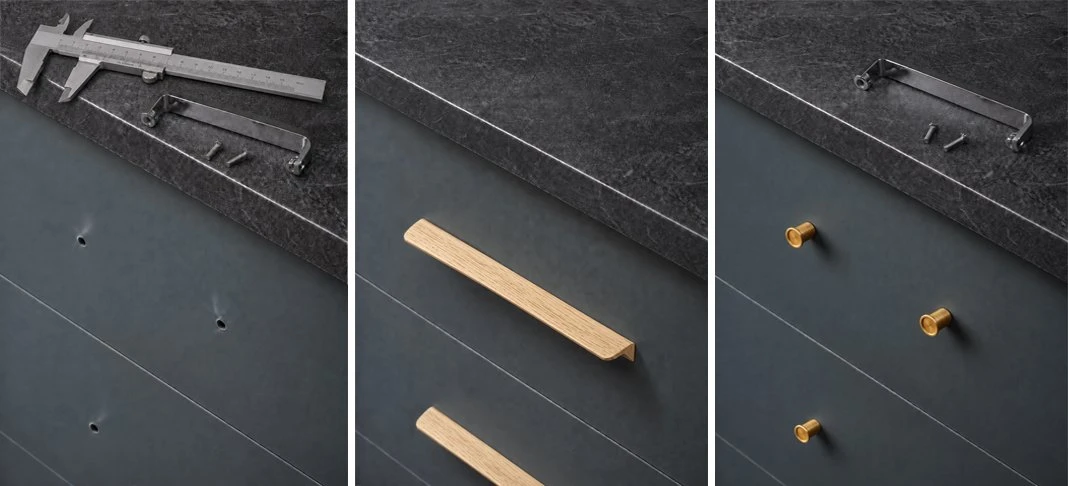
No such thing as 137 milimeters
The hole spacing doesn't fit? You don't need new fronts
It usually happens in this order. You find a handle that suits the kitchen, you measure, you get 137 millimetres, and you discover that this spacing doesn't exist. The holes are where they are, and the front is too good to throw away.
This is almost always solvable. Four routes, in the order I'd work through them.
First: measure again
The most common reason for an odd number is the method. Hole spacing, CC for centre to centre, is measured from the middle of one hole to the middle of the other — not edge to edge, and not across the length of the old handle. Measure from the outside and you'll land five to ten millimetres off, which is exactly the gap that explains a spacing nobody sells.
Our guide to measuring hole spacing covers it properly. If you still end up between sizes, read on.
What the grid actually looks like
Handle spacings follow a grid, but it's unevenly filled. Across our own range, 160 mm is by far the most widely available, followed by 320, 192, 128, 64, 256 and 32 mm. If your front sits on one of those, you don't have a constraint — you have a choice.
Then there are sizes that exist but only in a handful of models: 48, 108, 202, 224, 292, 342 and 392 mm. These aren't mistakes, they're the house sizes of individual manufacturers. If your front is drilled to one of them, the selection is small but not empty, and it's worth filtering before you reach for the drill.
In practice: the first step isn't a rebuild, it's a filter.
Route 1: A handle with more than one hole pattern
Longer handles often come with several pairs of holes. The variant list then shows not one spacing but two or three — 192 and 480 mm on the same handle, say, or 528 and 1056 mm on the long versions. The handle brings both positions with it; which one you use is decided by the holes you already have.
This is the cleanest route, because nothing gets filled and nothing gets drilled. It works best on wide drawers and tall pull-outs, where a long handle is the right proportion anyway. On a narrow drawer, a 1066 mm handle isn't a solution — it's a new problem.
You can see it in the variant dropdown on the product page: each option lists the length, and after it the hole spacing. Two values side by side means two possible patterns.
Six series in our range do this. ANGLE goes furthest: the 200 mm version is drilled for 96, 128 and 160 mm, three of the four commonest spacings at once. The 400 mm sits on 256 and 320, the 500 mm on 320 and 416.
DINO covers 96 and 128 mm, and 160 and 192 mm in the next size up. CUTT also starts at 96 and 128 and runs to 320 and 480. FLAPP puts 128 and 160 mm into a single length.
For wide fronts, look at PEAK and BRAVE: every long PEAK carries an additional pair at 160 mm, every long BRAVE one at 192 mm. So an 800 mm handle can still go onto a front drilled at 160 mm.
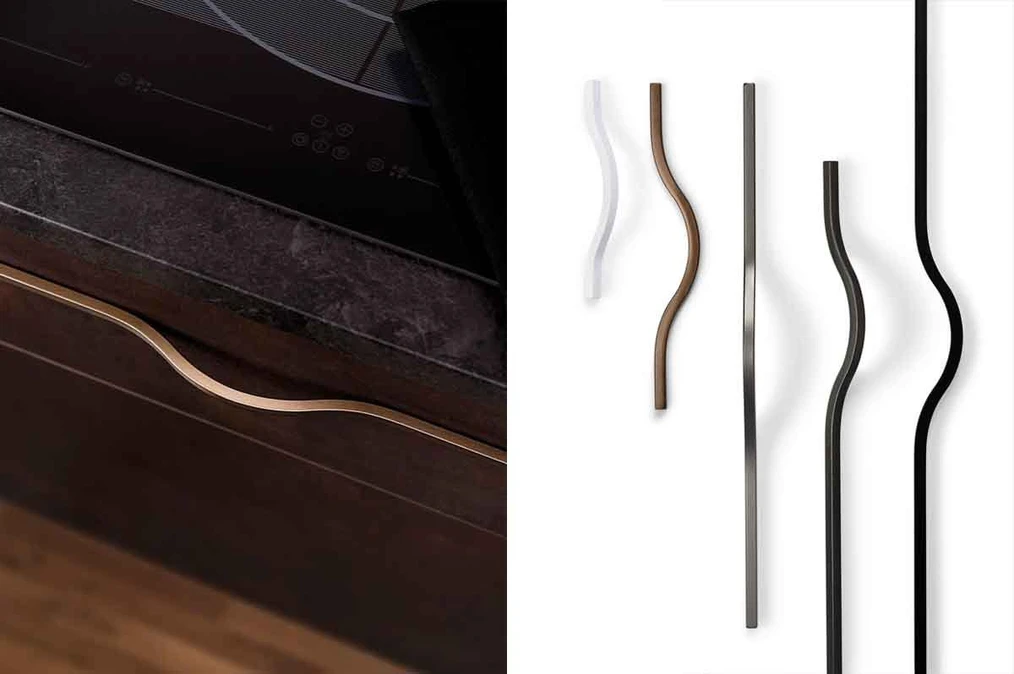
Route 2: Knob instead of a handle
A knob that sits on a single screw is the way to go. There's no pattern that has to match, which makes it the simplest answer — if your front has only one hole.
With two existing holes, a knob is honestly a half-solution: one hole gets used, the other stays open and has to be filled. On a painted front you'll see it later. On oak veneer you'll almost always see it.
So the knob makes most sense where knobs were already fitted, which is often the case on older chests and cabinets. It isn't a step backwards in design terms either: on a tall, narrow door, a single knob sits quieter than a handle cutting the surface in half.
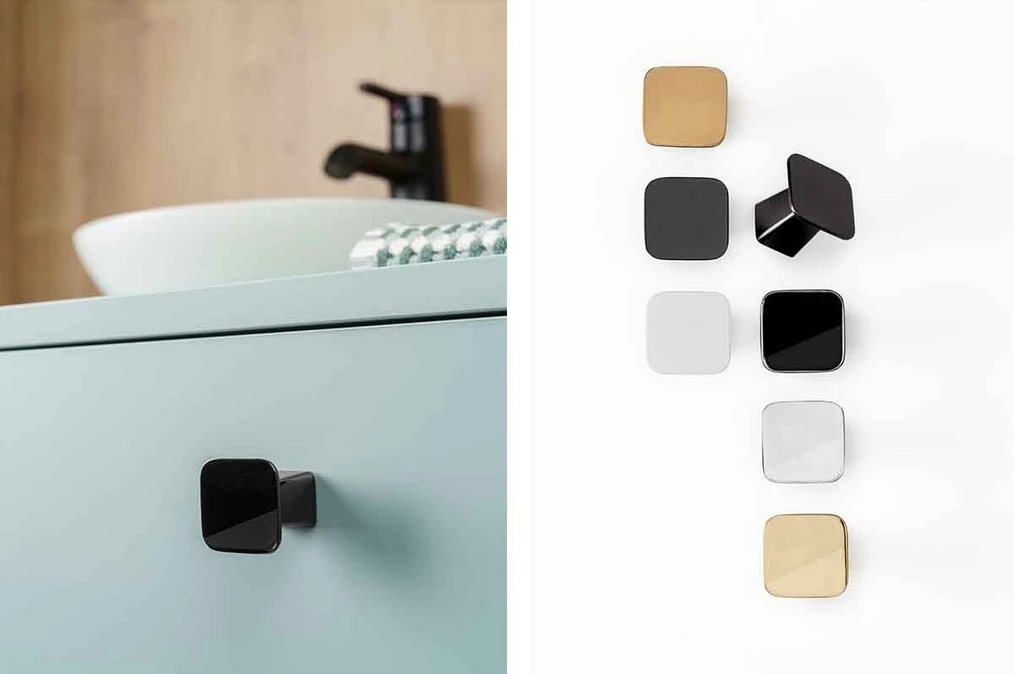
Route 3: Skip the holes entirely
There are two constructions where the old hole pattern simply stops mattering.
Profile handles run as a continuous section along the edge of the front. Integrated handles are recessed into the front and almost disappear — the Grada series is drawn so that the furniture reads as free of visible hardware afterwards.
Both are more work than swapping a handle: the front is routed or reworked along its edge, and that's usually a job for a joiner. In return they settle the question for good, and they change the furniture noticeably — a kitchen with handles becomes a kitchen without. If you've been wondering whether the fronts should be calmer anyway, this is the moment.
The old holes don't vanish on their own. They get filled, but they're usually hidden by the profile or the recess afterwards.
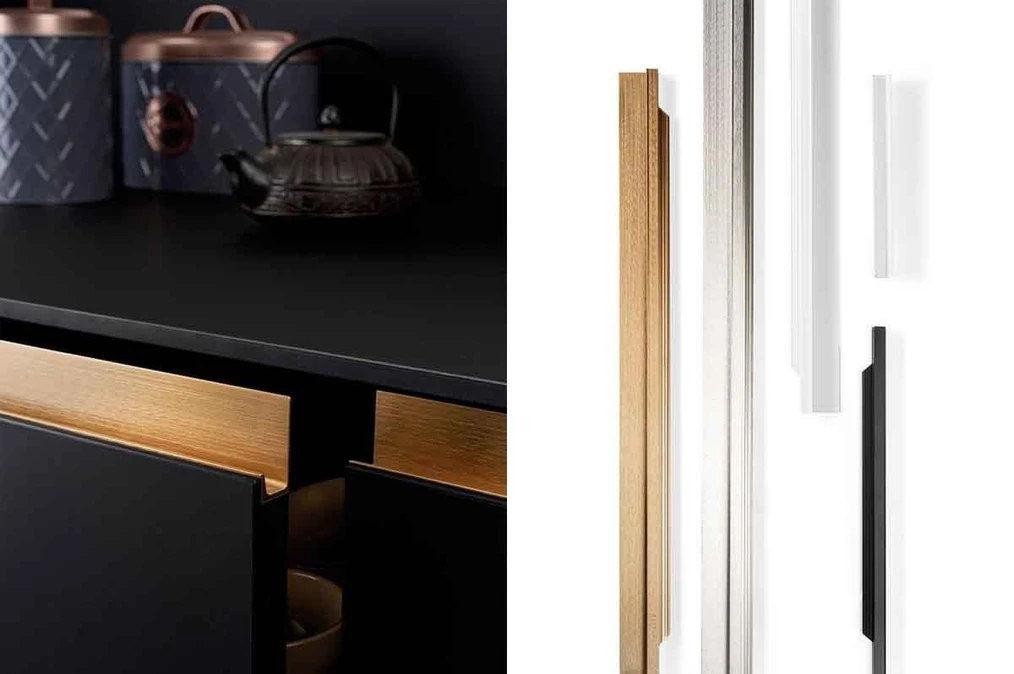
Route 4: Fill and re-drill
The most direct route, and the one that can easily go wrong.
In solid wood and sound blockboard, re-drilling is straightforward: fill, sand, mark out, drill. In coated chipboard — which is most kitchen fronts of the last thirty years — it's delicate. The coating chips at the edge of the hole, and a filled patch stays visible under paint, because it throws light back differently than the surface around it.
If the new hole sits close to the old one, a few millimetres apart, the two get in each other's way and the fixing loses its grip. In that case a handle with a different pattern is the better decision, even if it wasn't your first choice.
Mark out with a drilling template, not a folding rule. And if you're unsure, practise on the back of a door nobody sees.
Our recommendation
Measure again from centre to centre. Then filter by your actual measurement — in most cases, it will be 128, 160, 192 or 320 mm, and there is a wide range of options available. If your measurement falls between standard sizes, choose a handle with two hole patterns. Only after that would I consider drilling new holes, or switching to profile handles if you’re aiming for a cleaner, more understated look in the kitchen.
Feel free to get in touch before placing your order. A photo of the cabinet front and the measured hole spacing are all we need — we’ll find the handles that fit and help you decide which option suits your furniture best.
Table of Contents
Recent Posts

The hole spacing doesn't fit? Four ways to the matching handle
Sep 2, 2026

Beige Curtains & Scandinavian Style: The Quiet Luxury of Neutral Window Design
Aug 12, 2026

Beat the August Heat with Stylish Blackout Drapes: Stay Cool Without Compromising on Design
Jul 30, 2026

Wall Hooks: The Small Detail That Changes a Room
Jul 23, 2026

How to Mix Cabinet Handles and Knobs for a Stylish Kitchen, Wardrobe or Custom Furniture
Jul 16, 2026
Newsletter
Subscribe to get the latest posts delivered directly to your inbox.